
This walkthrough shows how to take a Circom Groth16 proof and verify it This walkthrough shows how to take a Circom Groth16 proof and verify it inside a Stellar smart contract.

The circuit is intentionally trivial (a * b = c).
Given two private inputs A & B let’s check they multiply correctly to a public output C.
Note all the code for this is open source on Github and you can clone it and follow along if you wish:
https://github.com/jamesbachini/CircomStellar
Here is what that looks like in a Circom circuit:
pragma circom 2.0.0;

template Multiplier2 () {
   signal input a;
   signal input b;
   signal output c;
   c <== a * b;
}

component main = Multiplier2();
So we are creating a new circuit using the template keyword, defining some input and ouput signals and then setting the constraint.
There is a more detailed description of this circuit here: https://docs.circom.io/getting-started/writing-circuits/
This circuit lives in a .circom file inside a circuits/ directory.
We can then pass our signals into a javascript library called snarkjs to generate a proof. This will output a zero-knowledge Groth16 proof along with the public ouput and a verification key. These can be passed to a Stellar Groth16 verifier contract to see if the proof is valid.
There is a frontend React site and backend shell script to demonstrate this in the repo.
Let’s look at the backend first as it’s a little cleaner to understand.
Server-side Verification
To run it locally you’ll need Rust, Node and Stellar Cli installed.
You can then clone the repo and run the demo.sh script. If you are using windows then I’d recommend running it in WSL.
git clone https://github.com/jamesbachini/CircomStellar.git
cd CircomStellar
./demo.sh
Let’s take a look at that demo script to see what is happening here: https://github.com/jamesbachini/CircomStellar/blob/main/demo.sh
So we use npm to install snarkjs, build and deploy the Stellar Groth16 verifier contract, then generates a proof from a precomputed witness using snarkjs groth16 prove and export the corresponding verification key.
Before touching the chain, it verifies the proof locally with snarkjs groth16 verify to isolate proving correctness from integration errors. Then we convet the JSON verification key, proof, and public inputs into canonical hex encoded byte arrays that match the contract’s expected layout.
Those bytes are then passed to the verifier contract. The script asserts that the on-chain result is true, effectively proving that a*b=c on Stellar testnet.
Now let’s take a look at doing this in the frontend.
Frontend Verification
The frontend follows a very similar process using snarkjs to create a proof. We then use the @stellar/stellar-sdk to send this through to the contract.
It provides a visually useful demo of what is going on.
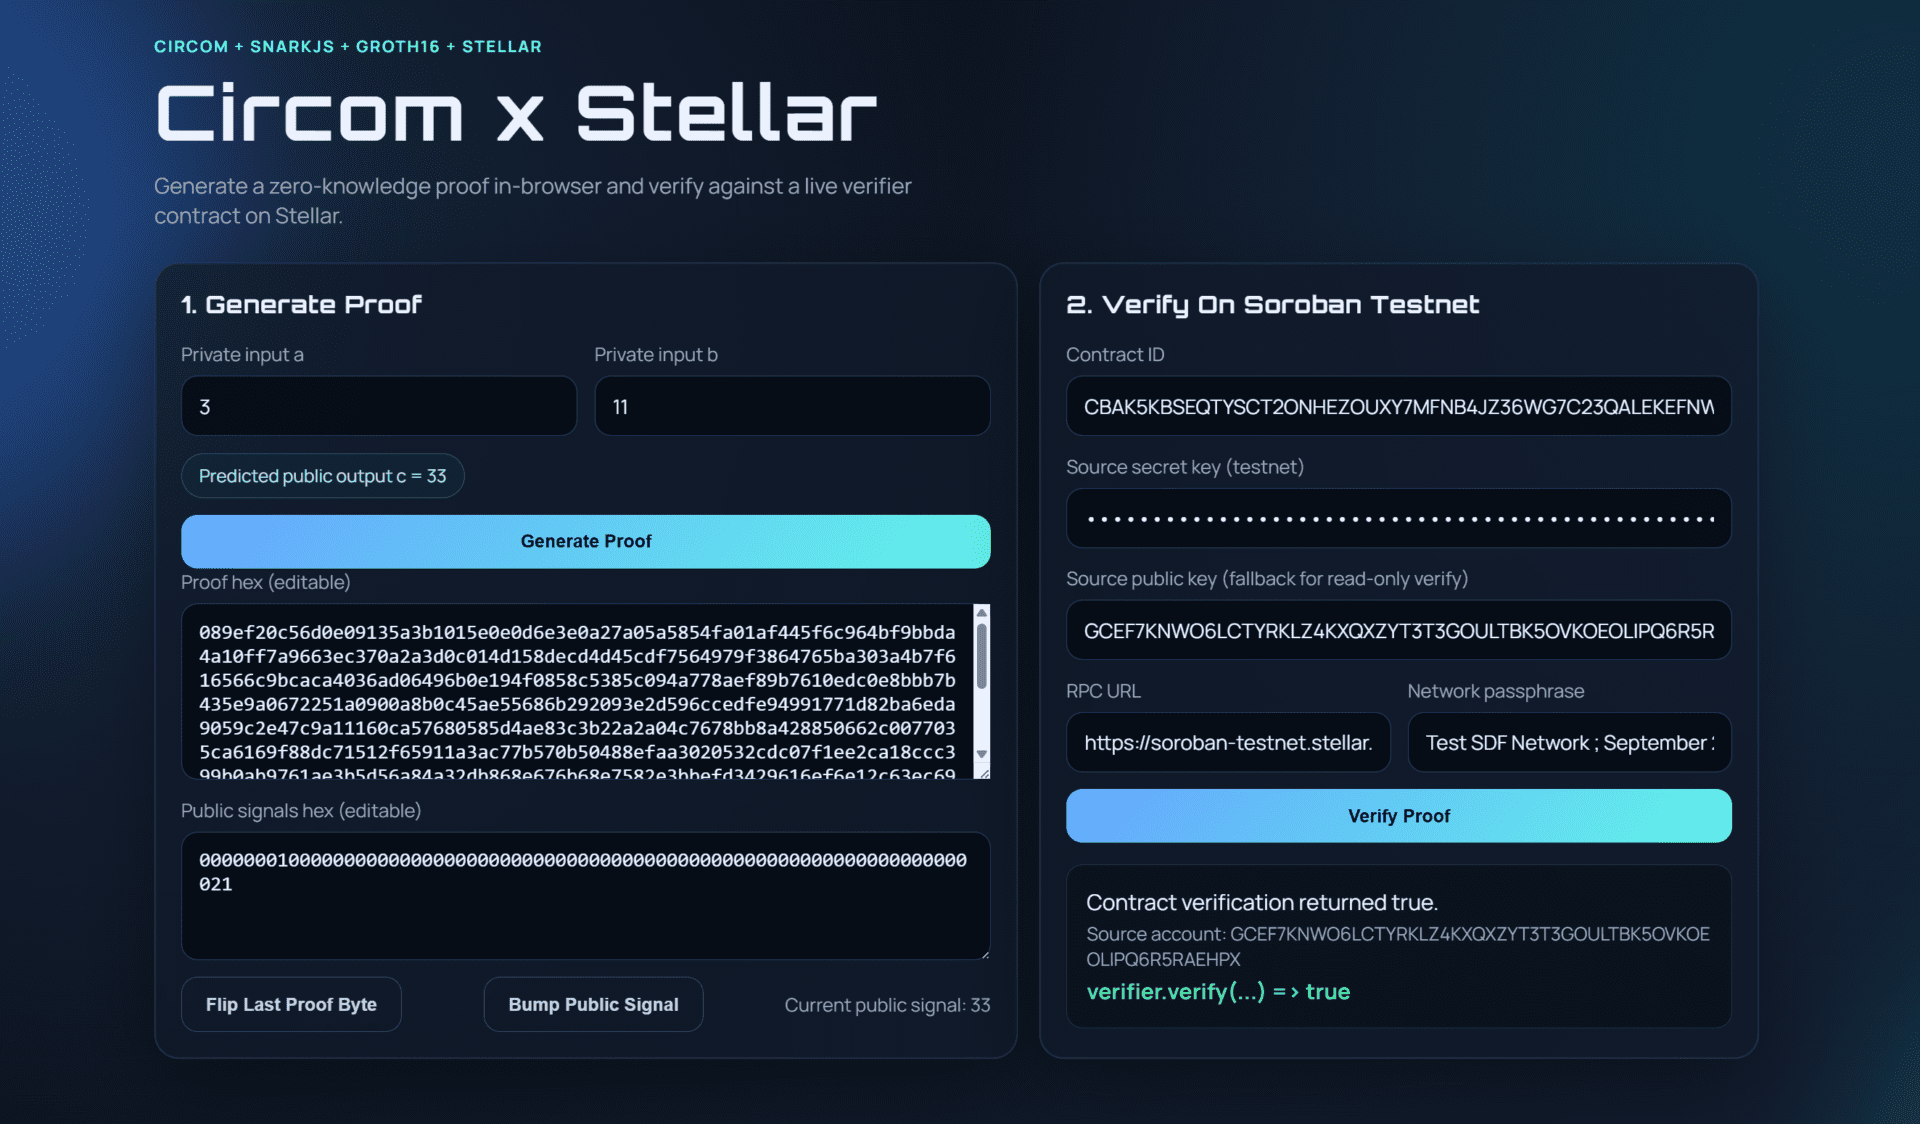
You can run this locally by cloning the repo as before then moving into the frontend, installing dependencies, editing the .env file (get keys and testnet funds from https://lab.stellar.org) and running npm run dev
git clone https://github.com/jamesbachini/CircomStellar.git
cd CircomStellar/frontend
npm install
mv .env.example .env
nano .env
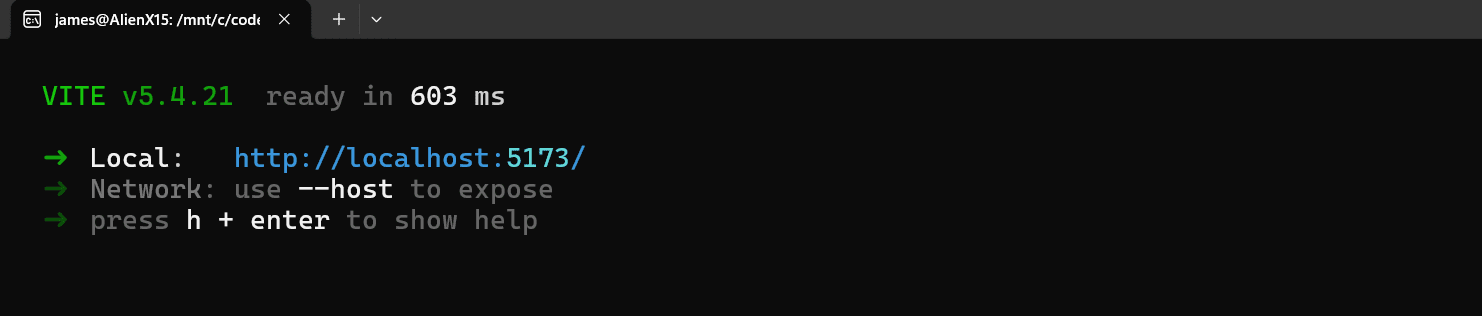
npm run devYou should then get a local dev server fired up and you can open a browser on localhost:5173
I hope you enjoyed this tutorial and it shed some light on how we can combine Circom circuits with Stellar smart contracts.
For more information check out the following resources:
