
In this tutorial we are going to deploy your first rust based smart contract using Stellar Soroban.

✨ Hello World Rust Smart Contract
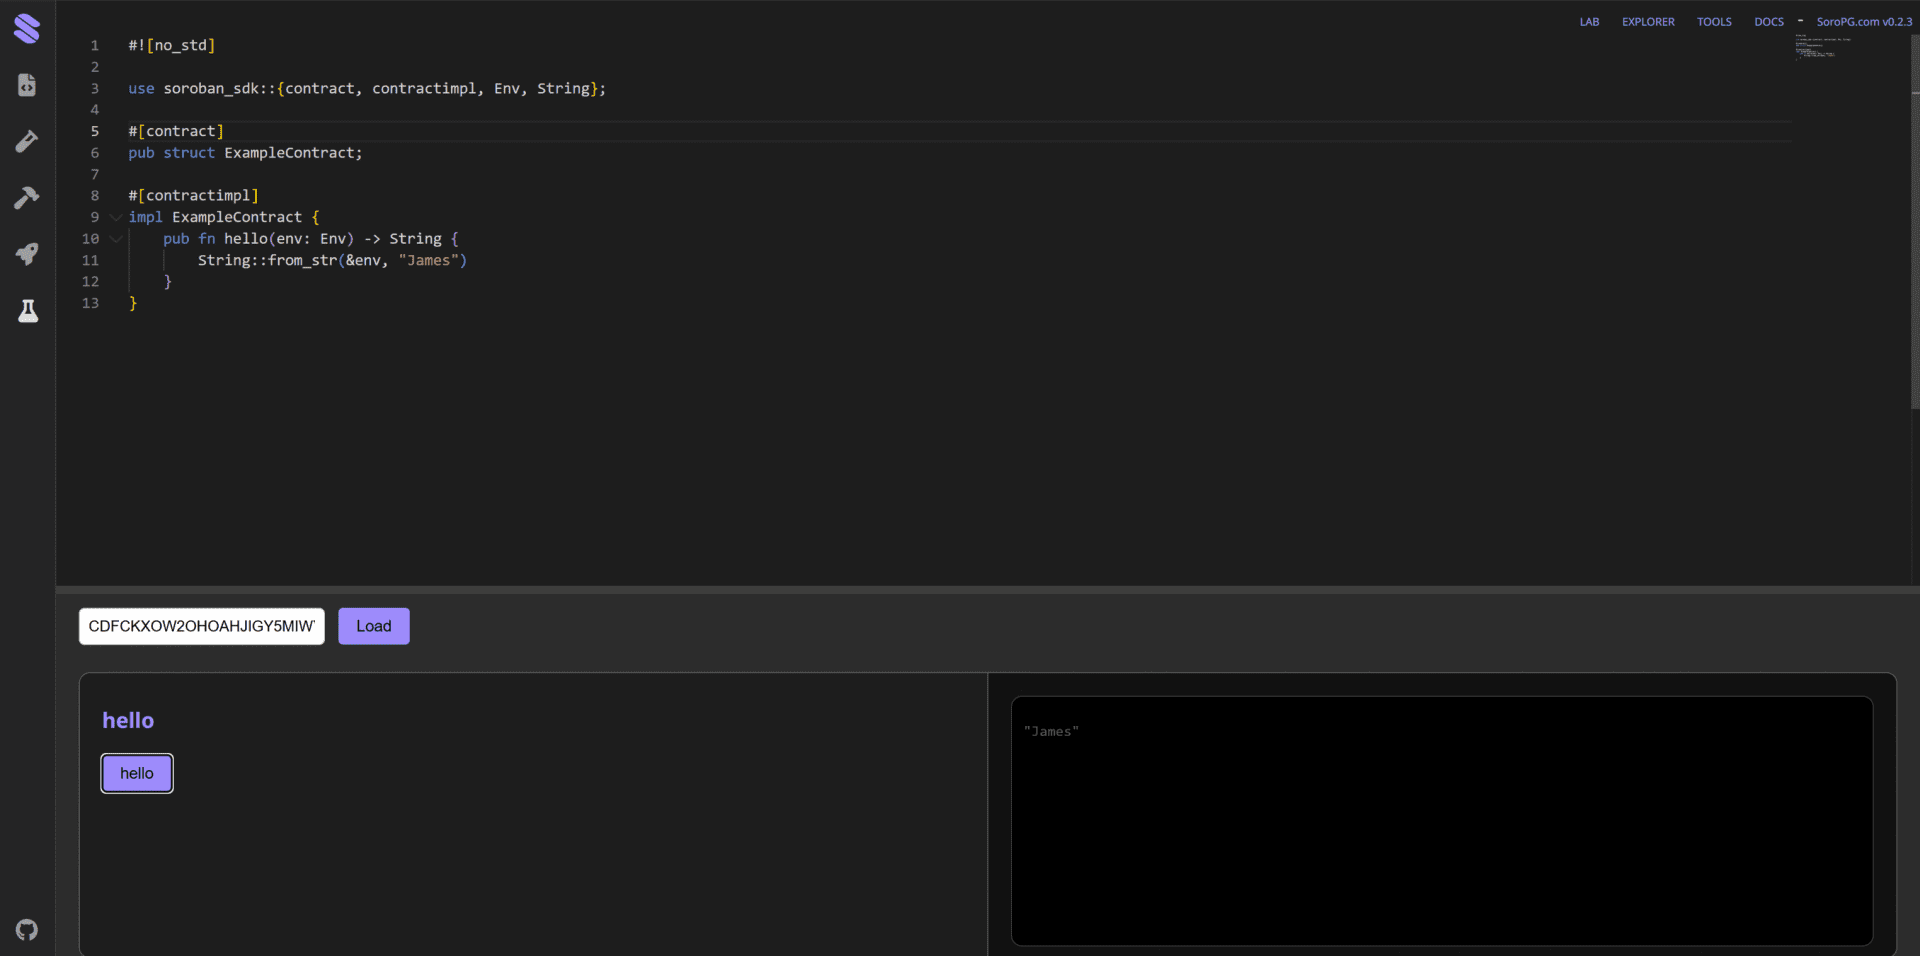
Let’s start by heading over to soropg.com
Copy and paste this code into the editor
#![no_std]

use soroban_sdk::{contract, contractimpl, Env, String};

#[contract]
pub struct ExampleContract;

#[contractimpl]
impl ExampleContract {
    pub fn hello(env: Env) -> String {
        String::from_str(&env, "James")
    }
}
Replace James with whatever you want to write on chain and select the build icon (hammer) from the left hand menu. Click “Compile to WASM” and give it a minute to build and download your .wasm file.
We can then go to the deploy icon (rocket) and generate a wallet. Click “Deploy WASM” button and select the file you just downloaded.
This will deploy the contract to the network. After a couple of transactions go through you’ll get a contract address that you can load in an explorer like Stellar.expert or load the contract workspace using the contract explorer (flask icon).
🌐 What Smart Contracts Can & Can’t Do
✅ What They Can Do:
- Manage small, critical data (e.g., balances, ownership info etc)
- Execute logic openly and deterministically
- Enable permissionless interactions (no admin)
- Enforce rules without intermediaries
❌ What They Can’t Do:
- Store large data (e.g., images, videos)
- Handle private logic or transactions (blockchains are open and transparent generally)
Think of smart contracts in their current state as shared, immutable spreadsheets. Like a google doc with formulas in it that lives on a p2p network and can’t be destroyed or modified because no one owns it.
📊 Hit Counter Contract with Unit Tests
Let’s build a hit counter smart contract that tracks how many times a website is visited.
#![no_std]

use soroban_sdk::{contract, contractimpl, Env, Symbol, symbol_short};

const KEY: Symbol = symbol_short!("hits");

#[contract]
pub struct ExampleContract;

#[contractimpl]
impl ExampleContract {
    pub fn hit(env: Env) {
        let hits: i32 = env.storage().persistent().get(&KEY).unwrap_or(0);
        env.storage().persistent().set(&KEY, &(hits + 1));
    }

    pub fn display(env: Env) -> i32 {
        env.storage().persistent().get(&KEY).unwrap_or(0)
    }
}


#[cfg(test)]

#[test]
fn unit_test_hit() {
    let env = Env::default();
    let contract_id = env.register(ExampleContract, ());
    let client = ExampleContractClient::new(&env, &contract_id);
    client.hit();
    client.hit();
    client.hit();
    let result: i32 = client.display();
    assert_eq!(result, 3);
}
We can run this in soropg or use the stellar cli to interact with the contract and run unit tests via the command line.
Here’s what the key components do:
- The contract stores a persistent counter using a single storage key called “hits”
- It provides two main functions:
hit(): Increments the counter by 1 each time it’s calleddisplay(): Returns the current count value
- The implementation uses Soroban’s persistent storage to maintain the counter value across transactions and contract invocations, ensuring the count persists on the blockchain
- The counter defaults to 0 if no value has been set yet (using
unwrap_or(0)) - The test demonstrates the contract functionality by calling
hit()three times and verifying the counter reaches 3
This is an example of maintaining state on the Stellar blockchain using Soroban’s persistent storage capabilities.
🛍️ Frontend Integration & Wallets
We can then interact with that contract to create a frontend website that updates the hit counter and stores the value on-chain without any central database.
<!DOCTYPE html>
<html lang="en">
<head>
<meta charset="UTF-8" />
<meta name="viewport" content="width=device-width, initial-scale=1.0" />
<title>Hit Counter Demo</title>
<link href="https://fonts.googleapis.com/css2?family=Inter:wght@400;600;800&display=swap" rel="stylesheet">
<script src="https://cdn.tailwindcss.com"></script>
<script src="https://cdnjs.cloudflare.com/ajax/libs/stellar-sdk/13.1.0/stellar-sdk.js"></script>
<style>
body {
font-family: 'Inter', sans-serif;
}
</style>
</head>
<body class="bg-gradient-to-r from-blue-500 via-purple-500 to-pink-500 min-h-screen flex items-center justify-center p-6">
<div class="bg-white rounded-2xl shadow-2xl p-8 max-w-md w-full text-center">
<h1 class="text-3xl font-bold text-gray-800 mb-4">Welcome to My Website</h1>
<p class="text-gray-600 mb-6">You are visitor number:</p>
<div class="text-6xl font-extrabold text-purple-600" id="hit-counter">0</div>
<p class="text-sm text-gray-400 mt-6">This counter will update dynamically.</p>
</div>
<script>
const contractId = 'CCSDPSR2HUJC65VIY3AQH4EHUT4UDI5YSDZZTLAKLEZ3EHMZKOJWMP37';
const secret = 'SAFGON7NMOEYGGXF4MGPXREWIEBMEK4H263E7JESUW2PK3JEJU3U7WJ3'; // move to env in production
const keypair = StellarSdk.Keypair.fromSecret(secret);
const rpcUrl = 'https://soroban-testnet.stellar.org';
const rpc = new StellarSdk.rpc.Server(rpcUrl, { allowHttp: true });
const contract = new StellarSdk.Contract(contractId);
const networkPassphrase = StellarSdk.Networks.TESTNET;
async function sendHit() {
const account = await rpc.getAccount(keypair.publicKey());
let tx = new StellarSdk.TransactionBuilder(account, {
fee: StellarSdk.BASE_FEE,
networkPassphrase,
}).addOperation(contract.call("hit")).setTimeout(30).build();
const preparedTx = await rpc.prepareTransaction(tx);
preparedTx.sign(keypair);
const result = await rpc.sendTransaction(preparedTx);
console.log("Hit sent:", result);
}
async function fetchHits() {
const account = await rpc.getAccount(keypair.publicKey());
const tx = new StellarSdk.TransactionBuilder(account, {
fee: StellarSdk.BASE_FEE,
networkPassphrase,
}).addOperation(contract.call("display")).setTimeout(30).build();
const sim = await rpc.simulateTransaction(tx);
const hits = StellarSdk.scValToNative(sim.result.retval);
document.getElementById('hit-counter').innerText = hits;
}
(async () => {
try {
await sendHit();
await fetchHits();
} catch (e) {
console.error("Error running hit counter:", e);
}
})();
</script>
</body>
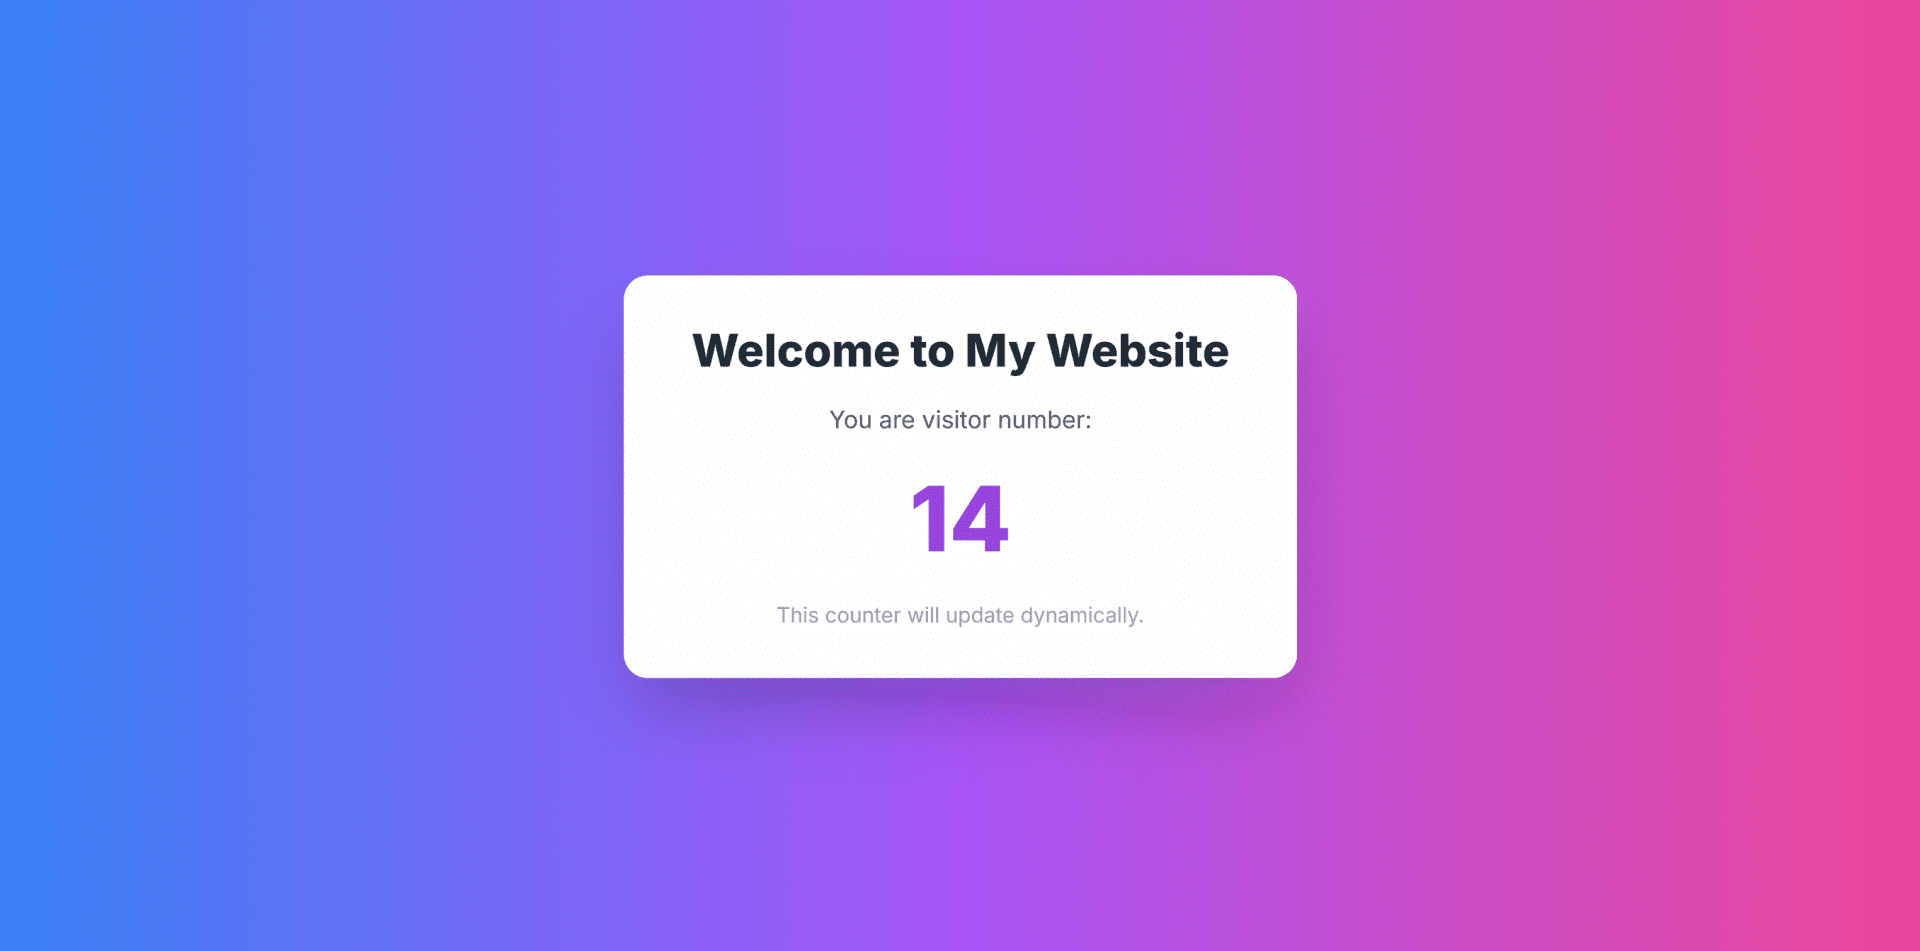
</html>This frontend code implements a visitor counter webpage that interacts with the Soroban smart contract.
Here’s what it does:
- It creates a visually attractive webpage with a gradient background and a centered card displaying a visitor counter
- The JavaScript section handles the blockchain interaction:
- Connects to the Stellar Testnet using the StellarSdk
- Contains two main functions:
sendHit(): Calls the contract’s “hit” method to increment the counterfetchHits(): Calls the contract’s “display” method to retrieve the current count
- When the page loads, it automatically:
- Increments the counter by sending a transaction to the smart contract
- Fetches and displays the updated count value
- Key technical aspects:
- Uses a hardcoded secret key (with a note to move to environment variables in production)
- Creates and signs Stellar transactions to interact with the Soroban contract
- Simulates the “display” transaction to get the current count without writing to the blockchain
- The implementation demonstrates a simple pattern for web applications to interact with Stellar/Soroban smart contracts
This creates a complete end to end application where each visitor to the webpage increments and displays the blockchain stored counter value.
All the code for the hit counter is available on Github at: https://github.com/jamesbachini/Soroban-Hit-Counter
✨ 3 Tips For New Web3 Developers
Here are three tips for new developers just stepping into web3 and smart contract development.
1. Keep It Simple
- Don’t over-engineer the contract side. It should just provide a base layer of essential logic and data storage.
- Minimize on-chain operations to reduce cost and complexity.
2. Security First
- Test extensively, use fuzzing, and static analysis.
- Take advantage of bug bounty programs and 3rd party audits where possible
3. Use Open Source Code
- Leverage libraries like OpenZeppelin or community vetted contracts.
- Study other real world contracts to learn best practices.
