

Hardhat is an extensive framework for developing, testing and deploying solidity smart contracts. In this Hardhat Solidity tutorial you will learn how to set it up, how to create hardhat unit test tricks, working with hardhat scripts and finally some Hardhat tips and tricks for Solidity developers.
Hardhat Easy Setup
Hardhat is built on NodeJS so you will need to install this first from https://nodejs.org/en
We will be installing Foundry at the same time so install this as well from https://www.rust-lang.org/learn/get-started
There are many Hardhat/Foundry boilerplates, I use my own minimalist one which is available here: SolidStart
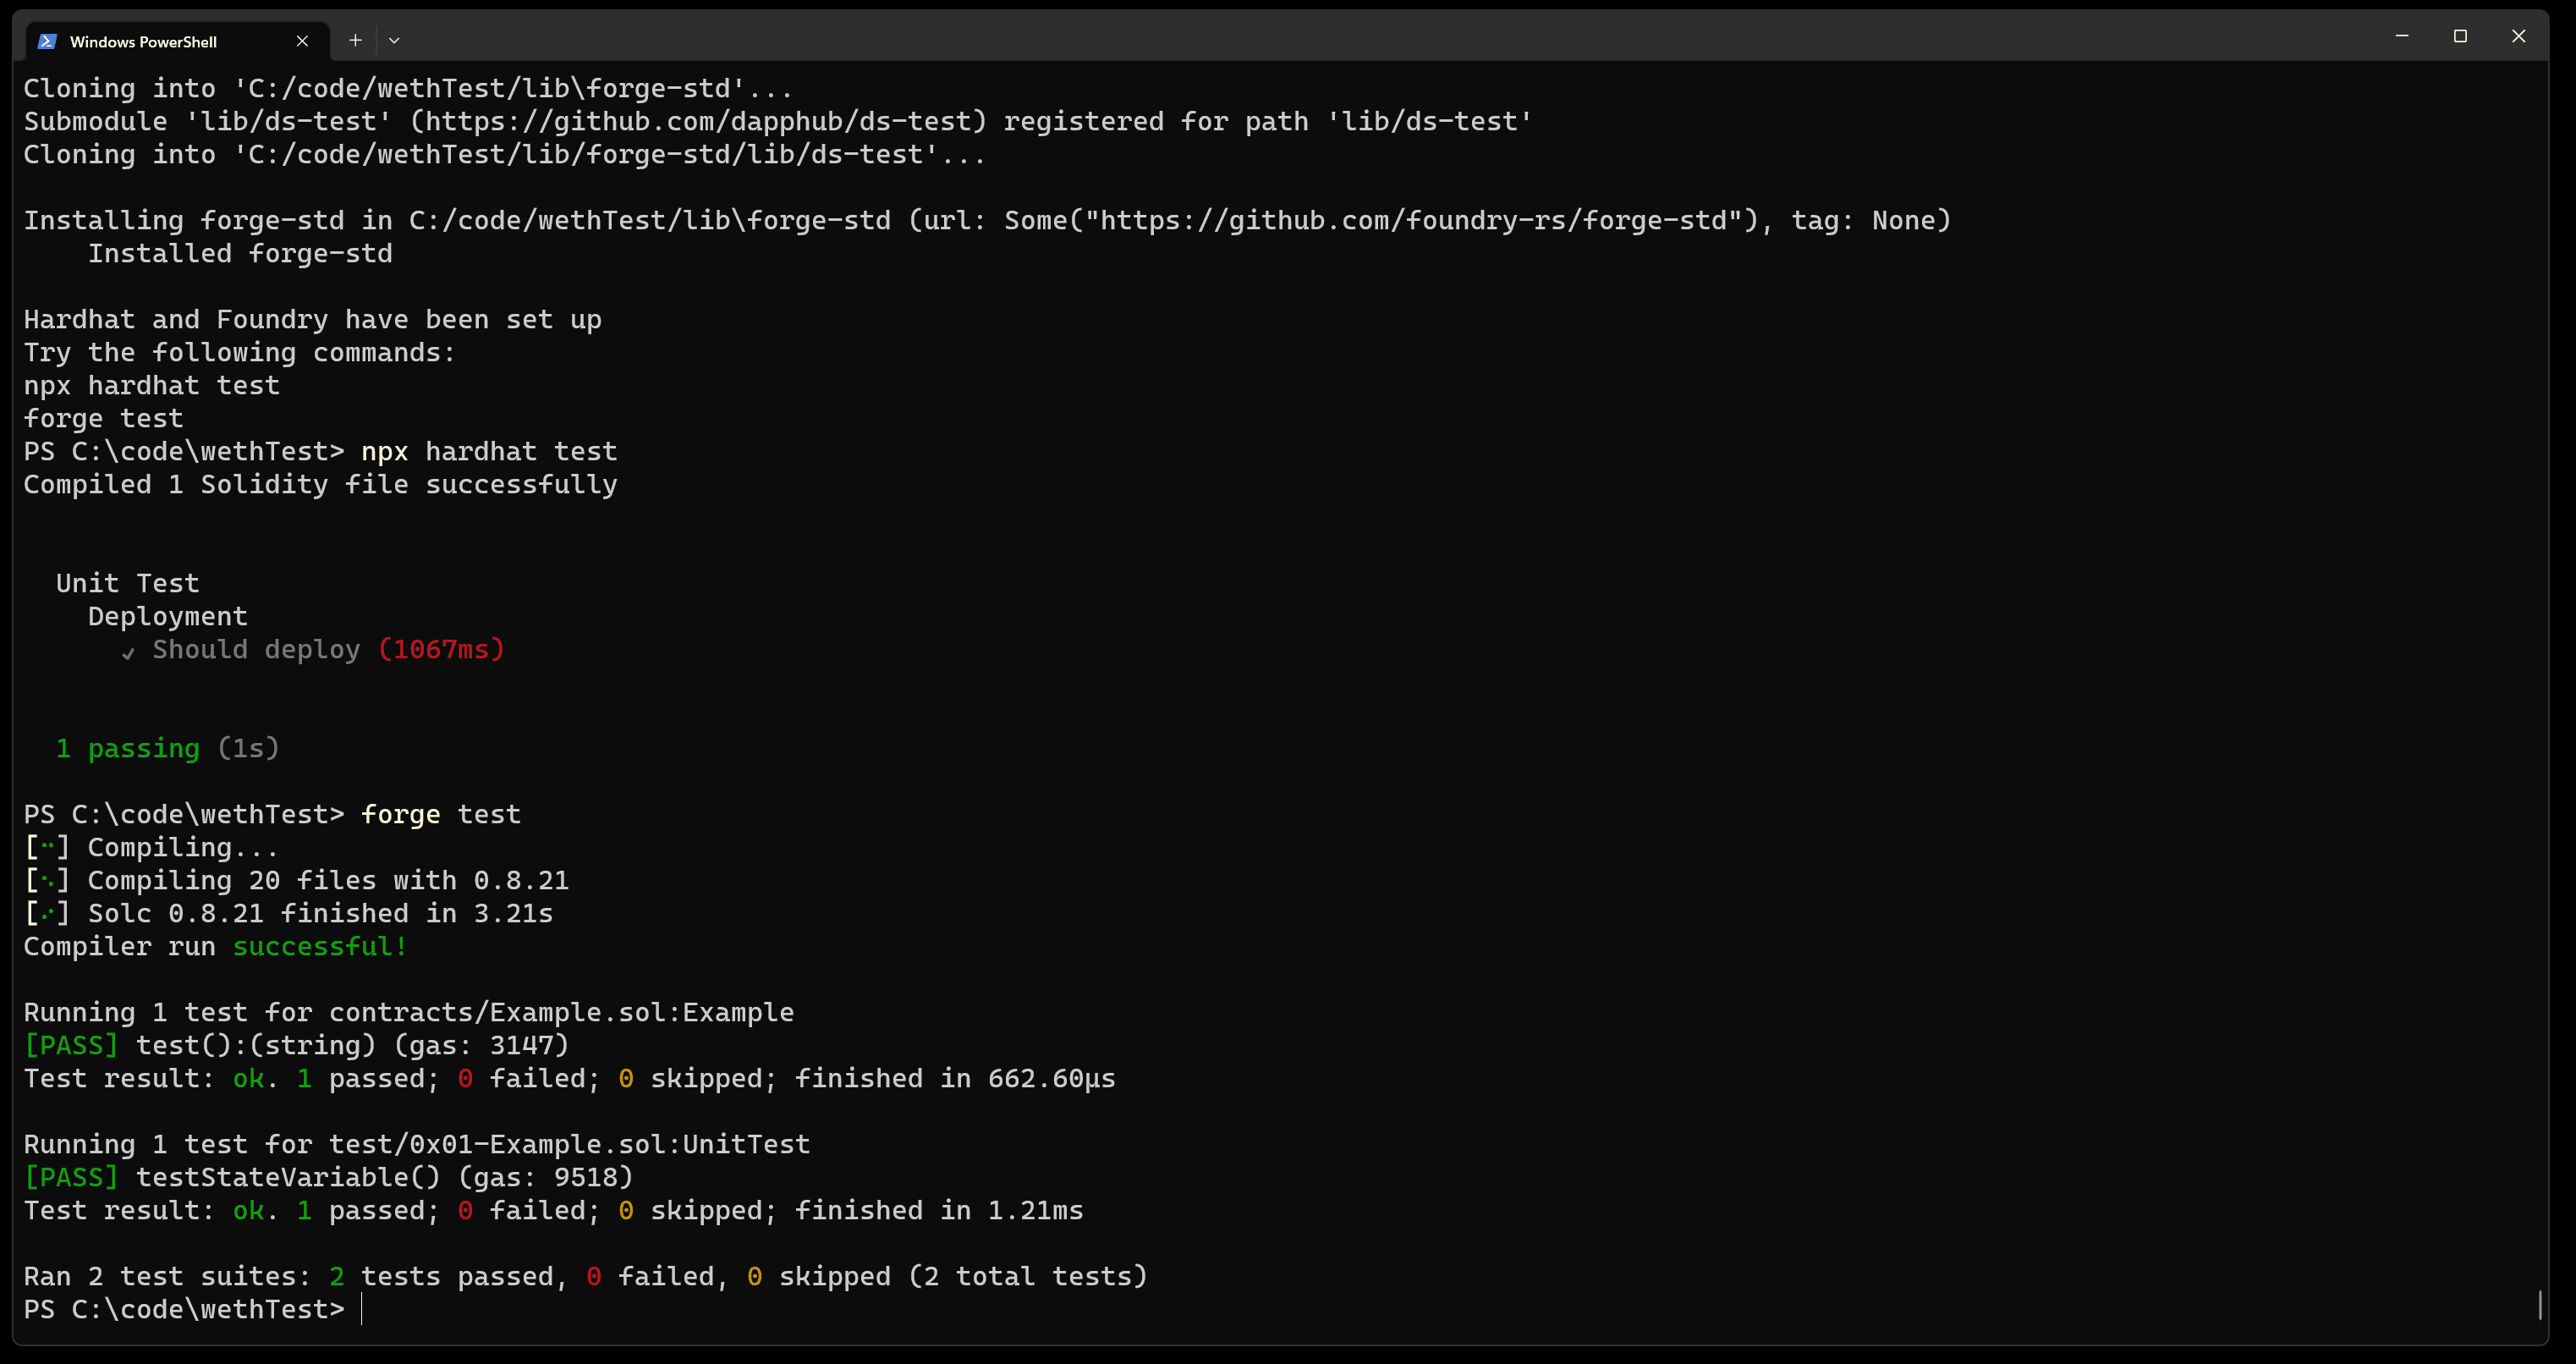
Fork or download the SolidStart.js file, and then run
node SolidStart.jsThis will install all the following in one go and setup basic configurations:
- Hardhat
- Foundry (forge, cast, anvil, chisel)
- OpenZeppelin Libraries
- DotEnv for credentials
You can edit the config files in the SolidStart.js file to create your own custom templates for your projects.
Hardhat Unit Tests
When creating production ready smart contracts most of our time is spent testing. Unit tests allow us to test individual functions within a contract. Here is a simple example to check an ERC20 balance is greater than zero.
it('Check balance', async function () {
    const usdcBalance = await usdc.balanceOf(user1.address);
    expect(usdcBalance).to.be.gt(0);
});
Often we want to check that things that shouldn’t be possible end in a reverted transaction. We can do this by combining expect with .to.be.revertedWith()
await expect(contract.myFunc()).to.be.revertedWith("not owner");When creating unit tests we need to think about which network we are going to be testing on. For example if we need to interact with other DeFi protocols it might be an idea to create a local fork of Ethereum mainnet on your device and then test against that.
npx hardhat node --fork https://eth-mainnet.alchemyapi.io/v2/We can then test against this local fork by setting up the local network on port 8545 in hardhat.config.js (http://127.0.0.1:8545)
npx hardhat test --network localHardhat Deployment Scripts
Here is a simple deployment script that deploys a token and then transfers some funds to user2 as defined in the hardhat.config.js file
const hre = require("hardhat");

async function main() {
    [user1, user2] = await ethers.getSigners();
    const Contract = await ethers.getContractFactory("Contract");
    const contract = await Contract.deploy();
    console.log(`Deployed: ${contract.address}`);
    const ethAmount = ethers.utils.parseEther("10000000");
    const tx1 = await contract.transfer(user2.address, ethAmount);
    tx1.wait();
}

main().catch((error) => {
    console.error(error);
    process.exitCode = 1;
});
Deployment scripts can get as complex as you wish and it’s possible to automate the entire process of a deployment within Hardhat. This reduces the potential for human error when moving from testnet to mainnet.
Hardhat Tips & Tricks
We often need to manipulate the state of the blockchain during tests either to roll the blockhchain forwards to a certain date, or to take ownership of an account we don’t have access to.
Fast Forward
This is widely used when testing things like staking rewards.
First we need to import the time library from the hardhat toolbox. Then we will add one weeks worth of seconds to the current Unix timestamp. Note that Unix timestamp is in seconds and JS Date() timestamps are generally ms. Finally we all time.increaseTo() to fast forward the chain to that date.
import { time } from "@nomicfoundation/hardhat-toolbox/network-helpers";

describe("The Future", function () {
  it("Fast forward blockchain", async function () {
    const oneWeek = 7 * 24 * 60 * 60;
    const futureTimestamp = (await time.latest()) + oneWeek;
    await time.increaseTo(futureTimestamp);
  });
});
Steal Vitalik’s Eth
We can simulate ownership of any account within a hardhat test. To do this we will use the impersonateAccount() function.
import { impersonateAccount } from "@nomicfoundation/hardhat-toolbox/network-helpers";

const address = "0xd8dA6BF26964aF9D7eEd9e03E53415D37aA96045";
await impersonateAccount(address);
const vitalik = await ethers.getSigner(address);
Slowing Down Deployments
Sometimes when you have complex deployment scripts you need to slow down the process and wait for the RPC node to sync updates.
To do this we can use a simple async/await timer
await new Promise(r => setTimeout(r, 15000));Where Is My wETH
WETH and other tokens are deployed across different contract addresses on different blockchains. Here’s a little trick to use to find the address of weth on your current chain. WETH addresses are listed as per the Uniswap deployment documentation.
const { ethers } = require('hardhat');

const getWethAddress = async () => {
  const chainId = await ethers.provider.getNetwork().then((network) => network.chainId);
  let weth = `0xC02aaA39b223FE8D0A0e5C4F27eAD9083C756Cc2`; // mainnet
  if (chainId == 5) weth = `0xB4FBF271143F4FBf7B91A5ded31805e42b2208d6`;
  if (chainId == 42161) weth = `0x82aF49447D8a07e3bd95BD0d56f35241523fBab1`;
  if (chainId == 421613) weth = `0xe39Ab88f8A4777030A534146A9Ca3B52bd5D43A3`;
  if (chainId == 10) weth = `0x4200000000000000000000000000000000000006`;
  if (chainId == 420) weth = `0x4200000000000000000000000000000000000006`;
  if (chainId == 137) weth = `0x0d500B1d8E8eF31E21C99d1Db9A6444d3ADf1270`;
  if (chainId == 80001) weth = `0x9c3C9283D3e44854697Cd22D3Faa240Cfb032889`;
  if (chainId == 56) weth = `0xbb4CdB9CBd36B01bD1cBaEBF2De08d9173bc095c`;
  if (chainId == 453) weth = `0x4200000000000000000000000000000000000006`;
  return weth;
}
Use The Optimizoooor
The optimizor can be set up in hardhat.config.js
We give it a estimated number of interactions and it will optimize the contract according to the lifetime expected gas cost.
So if you have a contract that’s not going to have many transactions you can optimize for lower deployment costs. If you have a contract that is going to become the widely used future of finance you can optimize towards lower transaction fees.
More info on this here: https://jamesbachini.com/gas-efficient-solidity/#optimise-for-runtime-cost
Create A Plugin
Hardhat is very extendable and you can create your own plugins for hardhat by either adding them to the hardhat.config.js file or creating an independent npm module.
The extendEnvironment function will extend the hre namespace.
extendEnvironment((hre) => { hre.myPlugin = "Hello World"; });
There is also a plugin boilerplate at: https://github.com/nomiclabs/hardhat-ts-plugin-boilerplate/
Verifying The Contract On Etherscan
There’s a bunch of ways to do this but I prefer to use hardhat.config.js and set the ETHERSCAN_API_KEY in .env
  etherscan: {
    apiKey: process.env.ETHERSCAN_API_KEY,
  },
You can also flatten the contract which imports all the libraries into a single file. This can then be used with various other block explorers to verify the contract.
npx hardhat flatten contracts/Example.sol > Flat.solWebDev Degen
Is your frontend code littered with console.log statements? Well now your smart contracts can be equally hideous. Within solidity we can import a ‘hardhat/console.sol’ library and use this to log outputs during our tests which can be helpful when debugging.
import "hardhat/console.sol";

contract Puke {
    string public sayNo = 'to console logs';
    console.log(sayNo);
}
I hope that you’ve found this hardhat solidity tutorial along with the tips & tricks useful. If you want to keep updated in the fast moving world of blockchain development then subscribe to The Blockchain Sector newsletter at https://bachini.substack.com
