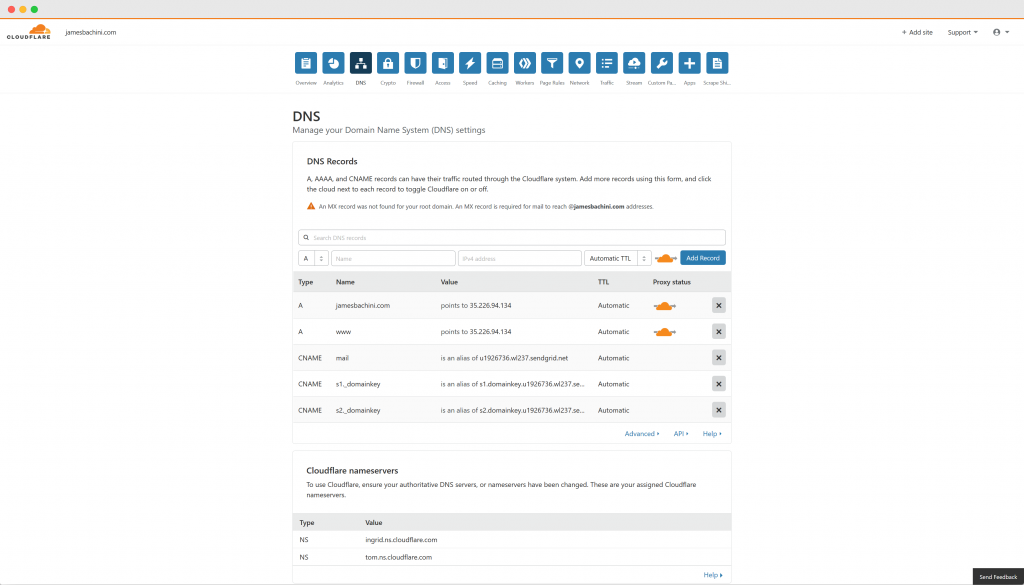
If you are just running a wordpress blog or simple website you can setup Cloudflare to manage SSL for you. Cloudflare acts as a proxy between your website and the user. I recently setup Cloudflare which provides a SSL certificate with their free account plan.
Step 1. Setup Cloudflare
Register for an account. Then select which plan you want and click continue on the DNS page. You’ll be prompted to update your nameservers.

Step 2. Update your nameservers
Go to your domain name registrar and log in to their platform. Somewhere there will be an option to update nameservers. Find it and change it to the ones Cloudflare gives you.
Step 3. Panic while your site goes down for 15 minutes

Step 4. Additional steps for WordPress
Once your site is back up and running log in to wordpress admin and install the following plugins
- Cloudflare flexible SSL
- WordPress HTTPS (SSL)
Step 5. Configure the HTTPS settings
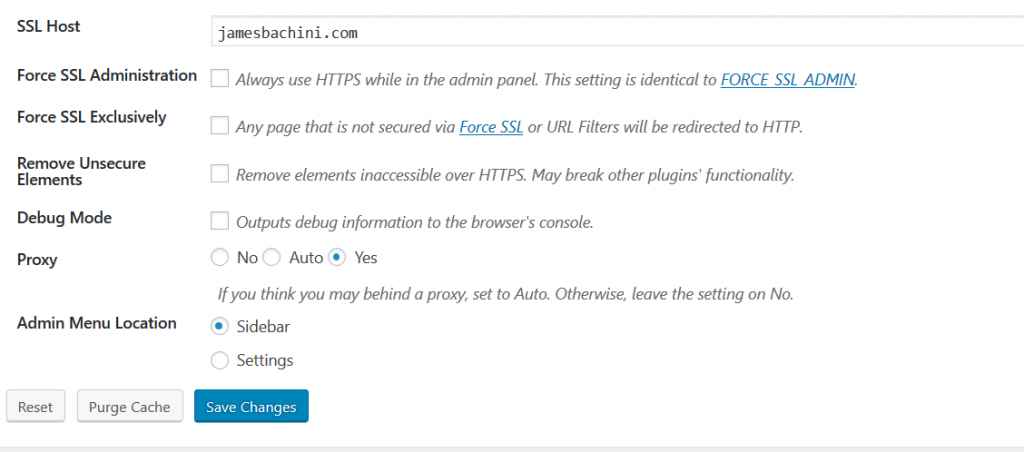
Click HTTPS in the main wordpress menu.
Select Yes for proxy setting.

Go to Settings on main wordpress menu
Set Site Address (URL) to https://whatever.com, leave wordpress address as http


