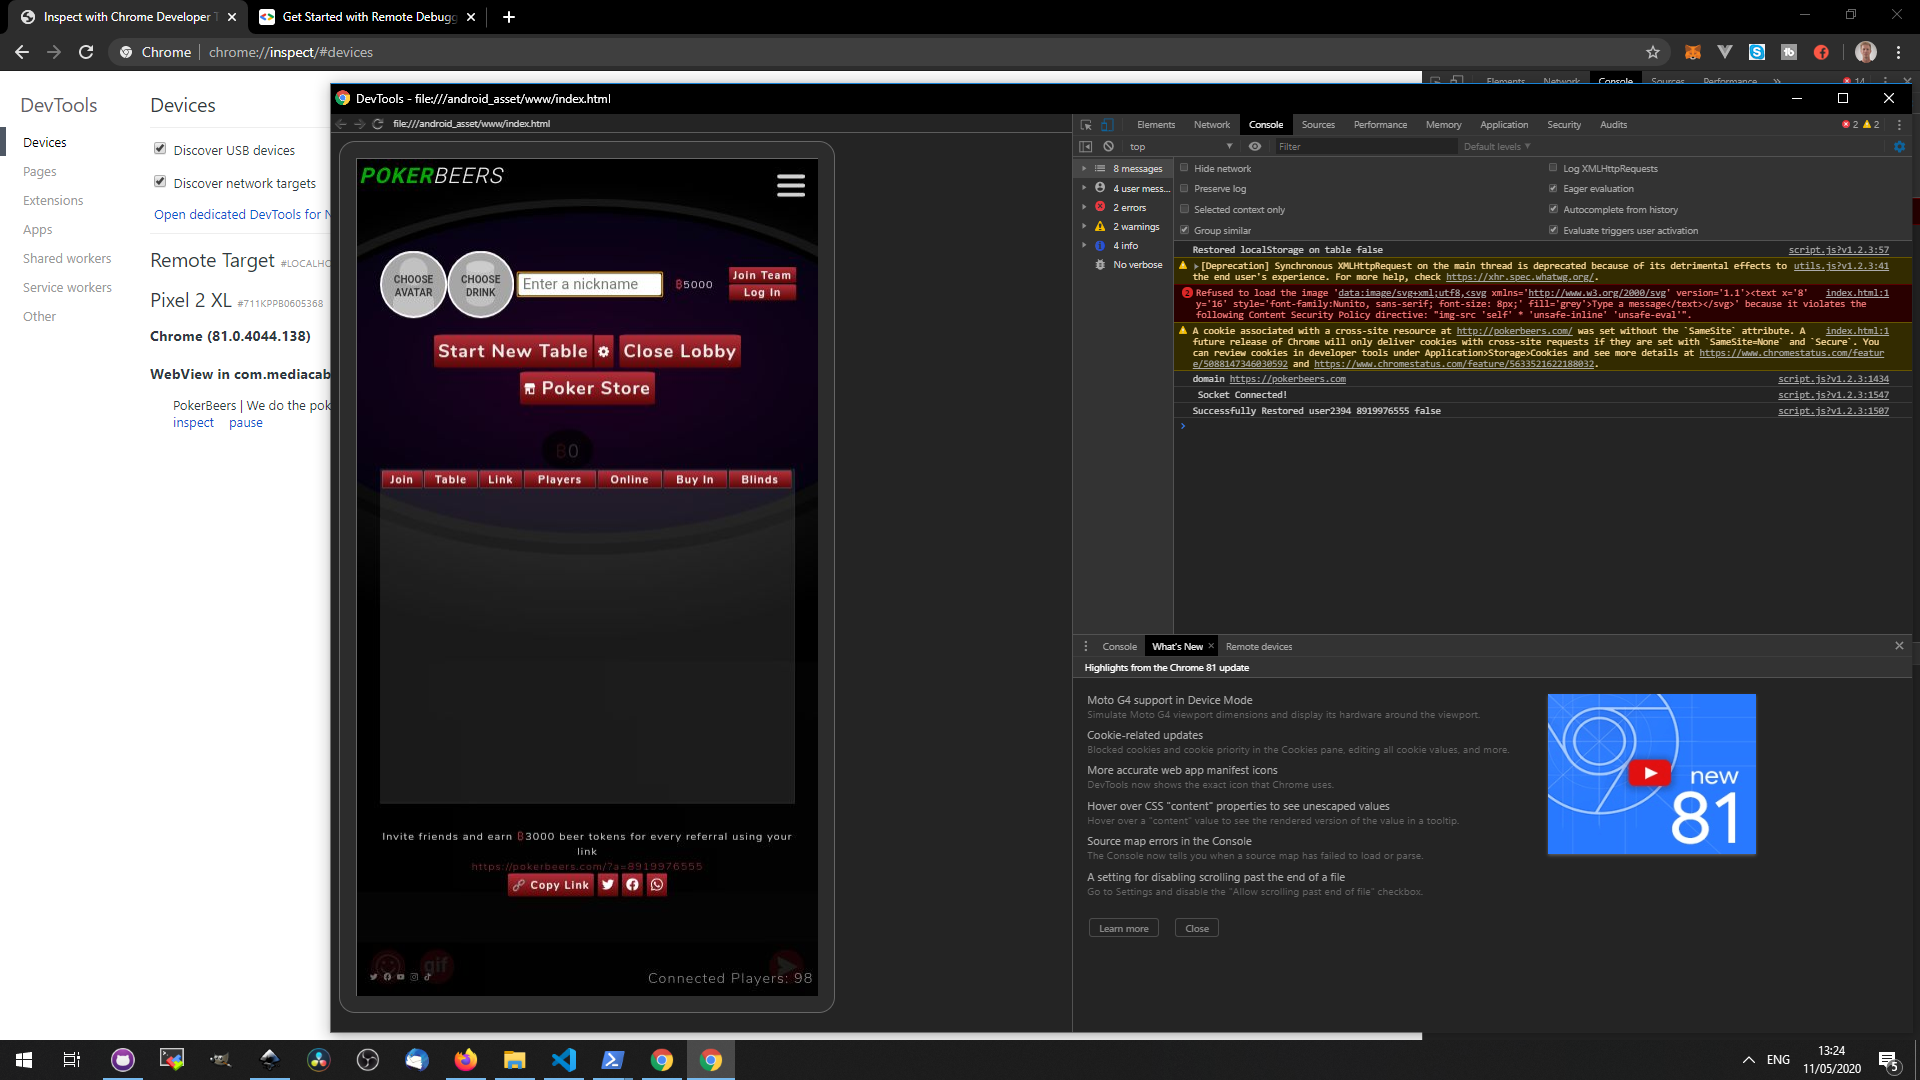
This is a step by step guide to using a open-source package called Cordova to turn a website into mobile app on Android and iOS. I’ll be using a windows device for this but all the packages are also available for a Mac. To publish an app to the iOS app store you need to compile on a Mac. I used a cloud service to do this called MacInCloud which lets you rent a Mac on a remote desktop.

The steps to turn a website into an app are:
- Make sure the website or app is fully responsive
- Download Node.js and Setup Cordova
- Create a Cordova project
- Copy Website Across
- Testing & Debugging
- Building for Android
- Building for iOS
Step 1. Make sure the website or app is fully responsive.
The first thing we need to do is to make sure the website looks great on mobile. Check things like landscape vs portrait. Does it look as good on an old phone as it does on a 4k monitor. iPad resolutions are always weird and may need additional media queries.
Use CSS media queries such as:
/* anything less than 1300px width */
@media only screen and (max-width: 1300px) {
/* portrait mode with a fix for keyboard popup */
@media only screen and (orientation:portrait),(max-device-aspect-ratio: 1/1), (max-aspect-ratio: 1/1) {
A good way to test how a site looks is to open up chrome or firefox and use the developer tools to view the site using their mobile simulator.
More info here: https://developers.google.com/web/tools/chrome-devtools/device-mode#viewport
Step 2. Download Node.js and Setup Cordova
Node JS and Cordova are required to turn the site into a mobile app. There are also requirements for building individual apps. For Android the Developer SDK is required and iOS apps can only be built on a Mac. I tend to do everything on my Windows PC and then move it to a rented virtual machine mac just to do the final build on iOS.
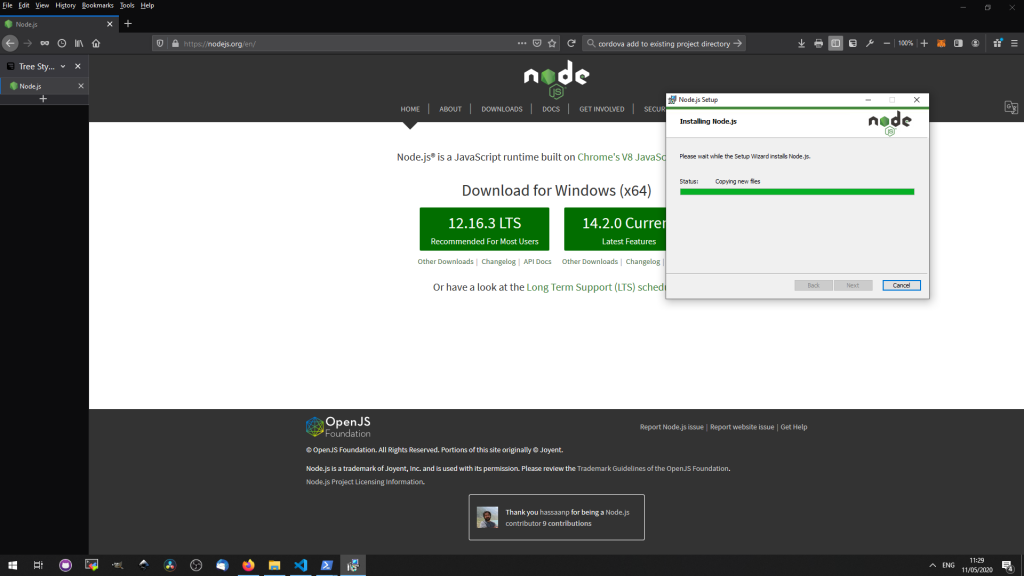
Download Node.js from https://nodejs.org
- Open up a command line (on windows I hold down shift, right click in the directory I want to work in and then go to “open powershell window here”
- Type “npm install -g Cordova”
The additional things for Android are listed at:
https://cordova.apache.org/docs/en/latest/guide/platforms/android/#requirements-and-support
For iOS if you are using a VM then the software you require will be included.
Step 3. Create a Cordova project
cordova create myapp com.mydomain.myapp MyApp
cd MyApp
cordova platform add android
cordova platform add ios
Any issues here and it might be worth trying it with “Open powershell as administrator” or updating npm, node, cordova if using an older installation.
Step 4. Copy Website Across
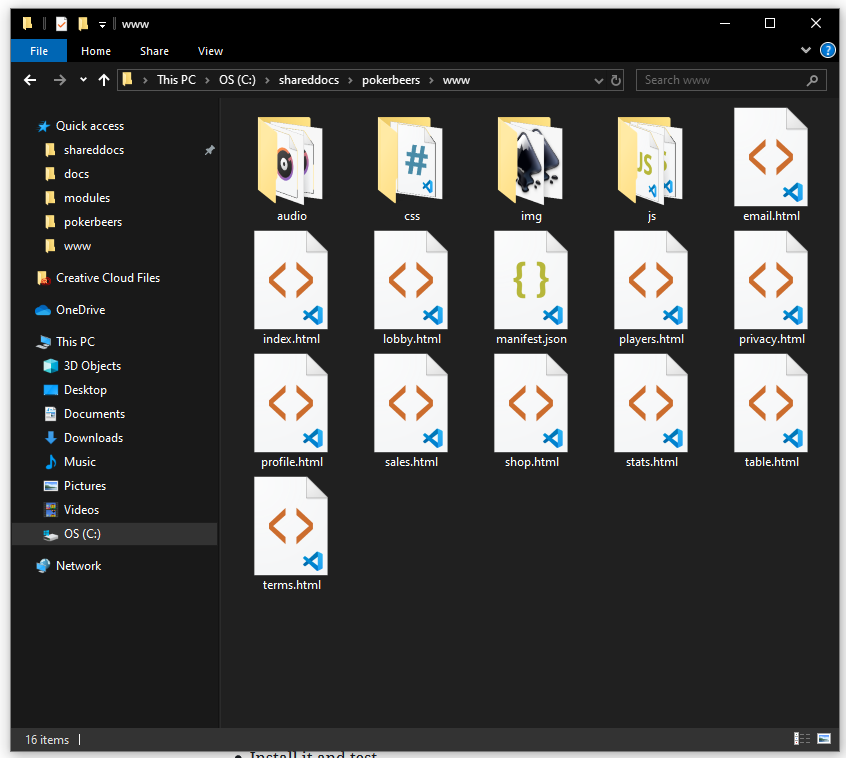
Move all the HTML, CSS, JS files across to the myapp/www folder
If your site is on wordpress or contains dynamic content such as PHP files you’ll need to convert it to a static site with something like:
https://en-gb.wordpress.org/plugins/static-html-output-plugin/
At this stage it’s worth double checking audio and image are hard linked as Cordova defaults from https:// to file:// which breaks some things normally.
Step 5. Testing & Debugging
To get the app running build it with “cordova build android”
- Copy the output app-debug.apk to an android device
- Ensure developer settings are on and you have permission to install unknown apks
- Install it and test
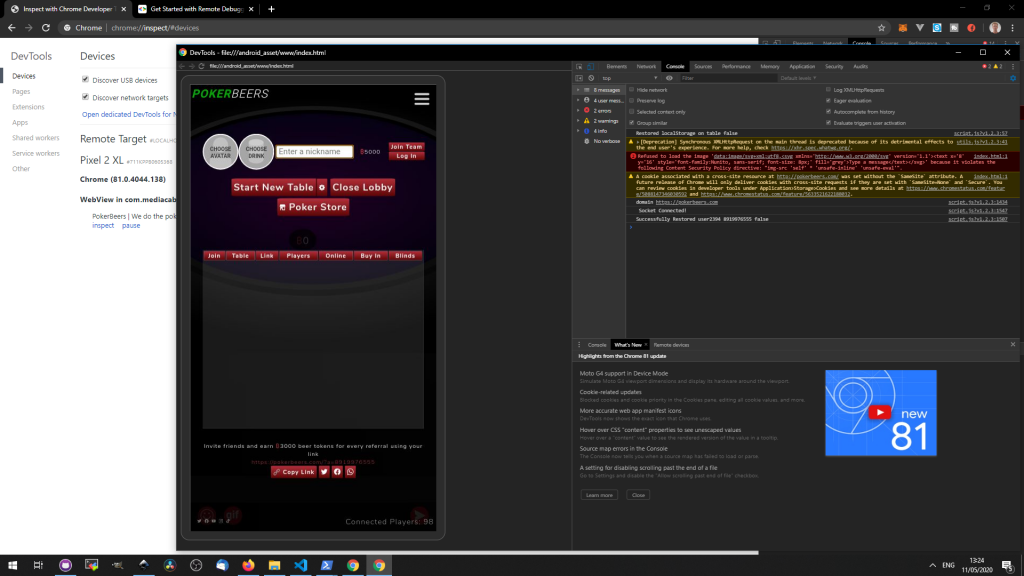
Probably it didn’t work the first time so debugging may be necessary. Plug an android device into the laptop. Open up chrome and go to developer tools > more options > remote devices
In the android settings go to system > advanced > developer tools > enable usb debugging
Plug a usb cable in to both devices and open up the following url in chrome
chrome://inspect/#devices
Open up the apk and you’ll get an option to inspect it which will provide a developer console with any errors.
Once connected you can also compile and build automatically without copying apk files across with:
cordova run android
If there are connection problems with ajax or websockets look at the index.html “Content-Security-Policy”. Also nowhere is using links to “//domain.com” or trying to fetch “/dir/index.html” as the app will default to file:// instead of https://
Step 6. Building for Android
Build the app by running
cordova build android –release
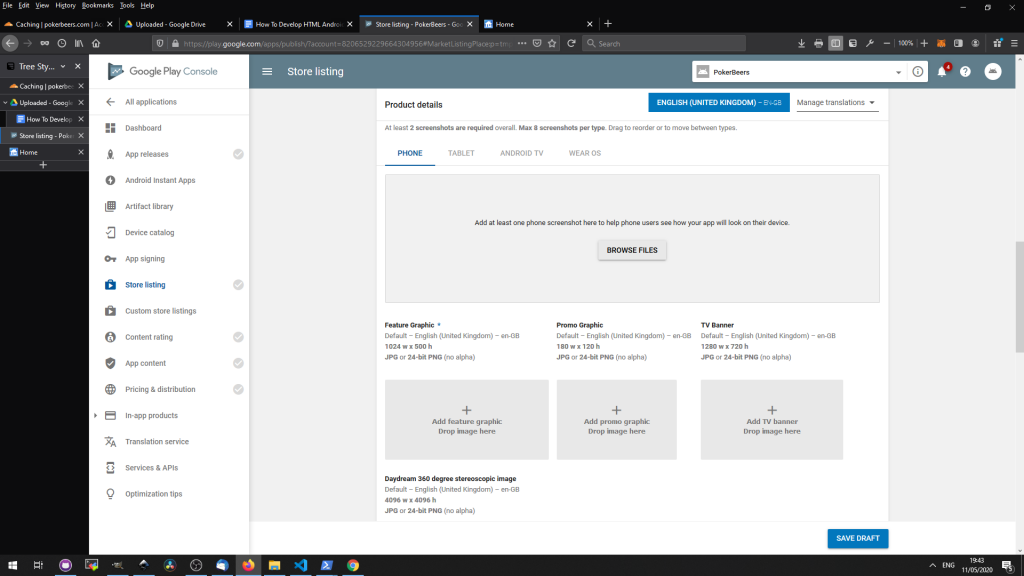
This will generate an unsigned-app.apk file which can then be uploaded to the Google Play Store at:
https://play.google.com/apps/publish/
Fill in some forms, upload some screenshots and icons and wait for it to be reviewed (up to 7 days) and viola app is on the Play Store.
Step 7. Building for iOS
Setup an account at https://developer.apple.com
Create a certificate
Create an app id
Create a provisioning profile
Go to https://appstoreconnect.apple.com
Add a new app.
SKU is the app id “com.yourdomain.appname”
Use firefox to take screenshots, setup devices in developer console CTRL + SHIFT + K, then open responsive devices with CTRL + SHIFT + M. You can edit the list of devices to get the right resolutions required.
Routing App Coverage File – not required
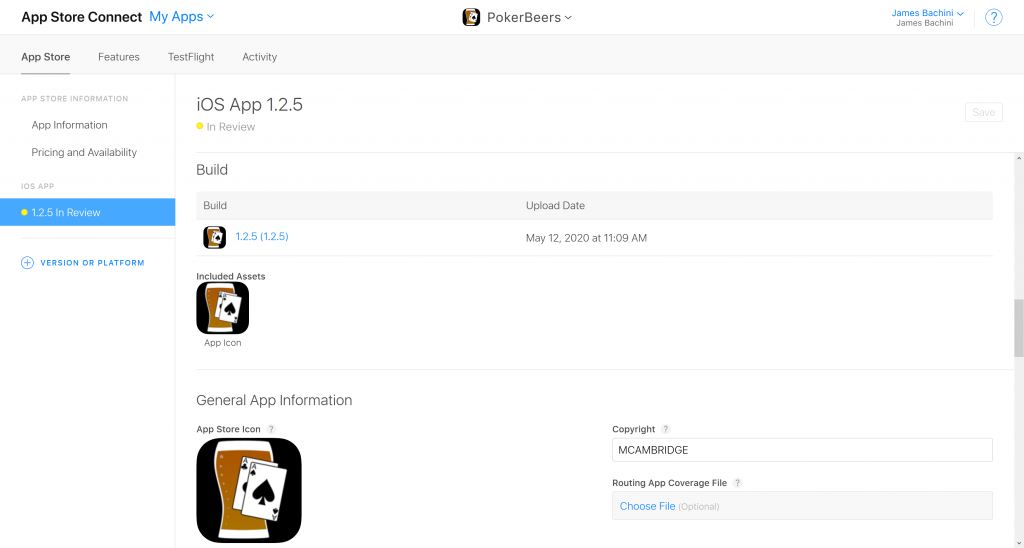
Use a icon and splash screen generator such as https://apetools.webprofusion.com/#/tools/imagegorilla
Zip everything up and use a cloud provider to store the files remotely such as Google drive.
Go to MacInCloud.com and get a mac VM setup
Download and unzip the files from Google drive
Open XCode open ./Downloads/yourdirectory/yourapp.xcworkspace/
Login to apple developer account Preferences > Accounts
Select Account in left panel, then view details in right panel
Select and download provisioning profile
Go into folder Resources then click images.xcassets
Drag and drop icons and splash pages, have to drop each one in individually!
Got to the main AppName file in Xcode then in the tabs go to Signing & Capabilities. Untick “Automatically manage signing” and choose the provisioning profile.
As of 2020 you can’t use the default webview in Cordova. You’ll get the following email from apple when uploading your app. Switch it to WKWebView with the instructions below.
ITMS-90809: Deprecated API Usage – New apps that use UIWebView are no longer accepted. Instead, use WKWebView for improved security and reliability.
cordova plugin add cordova-plugin-wkwebview-engine
Then add this line to config.xml underneath <platform name=”ios”>
<preference name=”WKWebViewOnly” value=”true” />
cordova build ios
If there’s an error 65. Try chmod +x /whateverdirectory/something.sh
Build it in xCode next and try it on an emulator.
Turn emulator to “Generic iOS device
XCode > Product (top of screen bar) > archive
XCode > Window (top bar behind macincloud) > Organizer
Validate App
Distribute App
Wait 5 minutes, check email as they’ll email if it didn’t go through. Then go into appstoreconnect and submit app for review.
Make a well deserved tea.
Bonus Step 8. Rolling Out Updates
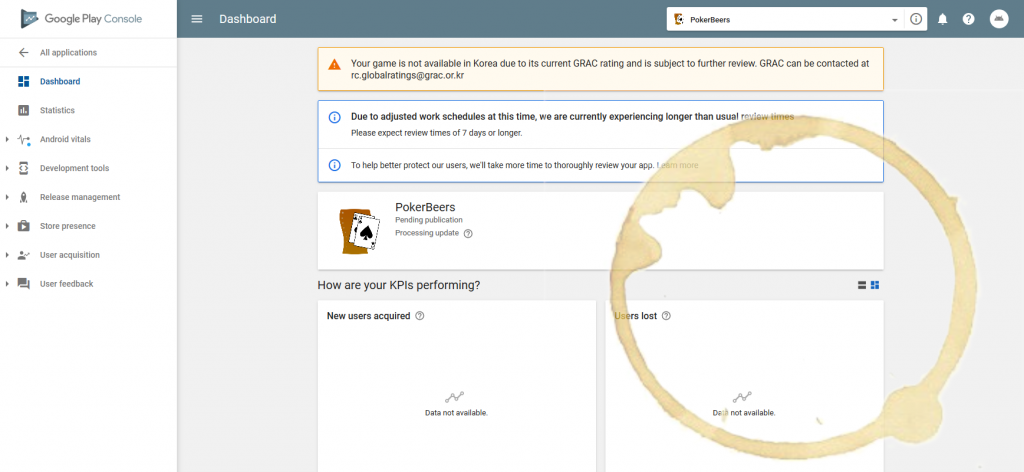
iOS will normally review the app within 24 hours in my experience. Google is currently saying it could take more than a week. By this time it will require an update so finally let’s do that.
It is important to update the version number in myApp/package.json
Then create a new build in a similar method to the above.
Create a new version and upload to Play and iOS app stores. Roll it out automatically to devices that have the app installed.

